Introduction
Greetings, same as always it has been a while since I pushed myself to write something. The thesis went well and basically I did not need this blog at all and it never got used as the notes appended to the thesis. But that does not matter still was useful along the way, and since I agreed to a deal I will probably write more often again. I was thinking what to write about and recently I have built my first custom MCP server connected to Claude Code. I wanted to share my experience and how I did it.
Problem that I wanted to solve
I have been reverse engineering a lot of websites recently, basically looking at how certain websites are designed, if they use ETag in the headers, how they do caching, whether there are any API endpoints they call which provide data, and so on. This process is quite repetitive but still requires some actions which are not really deterministic. And one can miss something, so a bunch of if statements just wasn’t the way. That’s why I decided let’s use an LLM like I do for most stuff nowadays, but the problem is that a plain LLM does not have the information for it; that’s why the MCP.
Building the MCP server
For those who do not know what MCP is, check the Anthropic docs here. It has been out for some time so I will not go into details. Basically it will allow you to give an LLM access to an external tool that can search the web or docs, like Context7 does — if you don’t know what that is, check it out; it keeps your LLM up to date on documentation so you are not stuck writing with the 2022 syntax. In our case we want to provide the LLM with a tool that will allow it to see the network calls — in some sense giving it the developer tools’ network tab.
There are multiple ways to build such a thing. You could just build an AI agent, but that requires an API key and I did not have that at the time. Also the Claude Code SDK, which is cool, requires it. Since I have Claude Code, I decided to build a local MCP server.
Implementation Details
The implementation of the MCP server is rather simple — we use the MCP Python library provided by Anthropic. You can read up on the docs or just use the Context7 mentioned before and put it into an LLM to code it up ;). The first thing is that I decided on the transport method, and since it will be a local server and we wanted it to be easy I decided to use stdio transport rather than Streamable HTTP. This is basically the contract that the LLM and the server will communicate over. Now comes the part where you define an endpoint, since MCP is just something like an API. After that we register the tools that we want to provide to the LLM, like you can see in the code snippet below.
@app.list_tools() async def list_tools() -> list[Tool]: return [ Tool( name="sniff_website", description="...", inputSchema={...} ), Tool( name="analyze_traffic", description="...", inputSchema={...} ) ]When Claude Code starts, it calls list_tools() to discover what the server can do. Each tool defines:
- name: How Claude invokes it
- description: What it does so that Claude knows when to use it
- inputSchema: JSON Schema for parameters
So now Claude Code knows what tools are available and when to use them. Next we implement the actual tool logic. In our case it was sniff_website which uses a headless browser to visit the site and capture network traffic, and analyze_traffic which processes that data to generate a report. But this is not important — it can be whatever you want that matches your use case. Imagine it’s just a Python file and it can do anything you want. The important part is that you register the tool handler so that when Claude invokes a tool it gets routed to the correct function. Such as:
  @app.call_tool()  async def call_tool(name: str, arguments: Any) -> list[TextContent]:      if name == "sniff_website":          captured_data = await sniff_website(url, max_requests)          return [TextContent(type="text", text=json.dumps(result))]
      elif name == "analyze_traffic":          analysis_report = analyze_captured_traffic(network_data)          return [TextContent(type="text", text=json.dumps(analysis_report))]
When Claude invokes a tool:
- Claude sends a JSON-RPC message via stdin
- MCP server routes to call_tool() handler
- Handler executes the logic (network sniffing, analysis)
- Results returned as TextContent back to Claude
- Claude sees the results and continues the conversation giving it context that it can use
This is basically it — now you have a working MCP server that can be connected to Claude Code. You just need to make Claude aware of the server you built. You can do that in various ways, but in our case we add the code snippet below into ~/.config/claude-code/mcp_config.json (you could also run a command, etc.):
{ "mcpServers": { "network-snif-dog": { "command": "uv", "args": ["run", "python", "/absolute/path/to/server.py"] } } }After that we restart Claude Code and check the /mcp command — you should see something like the picture below.
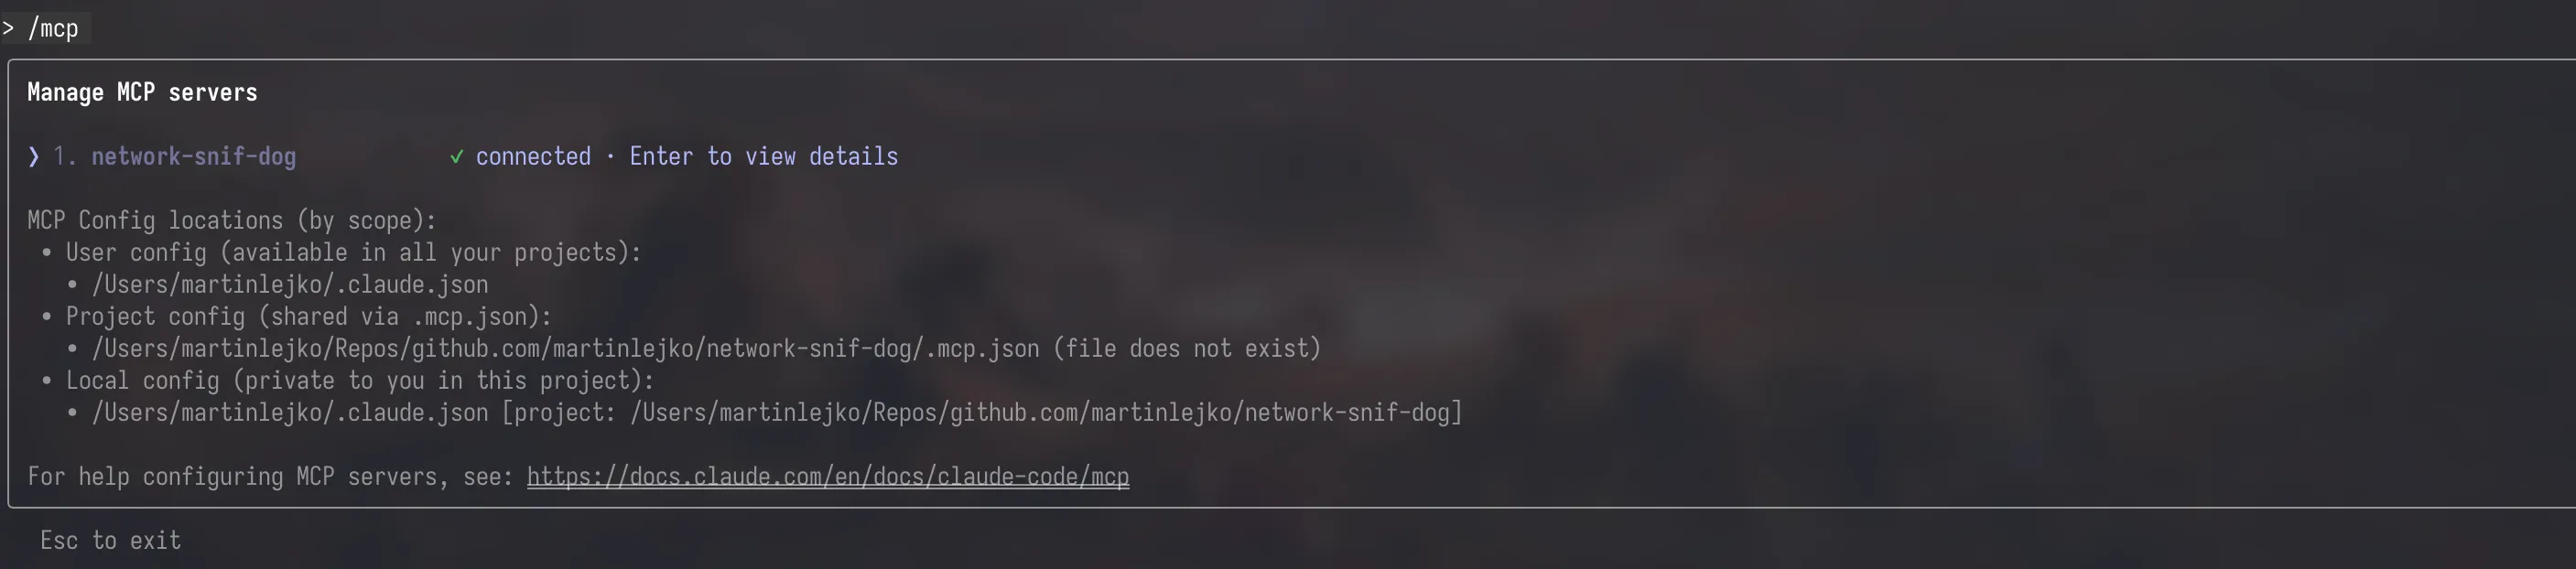
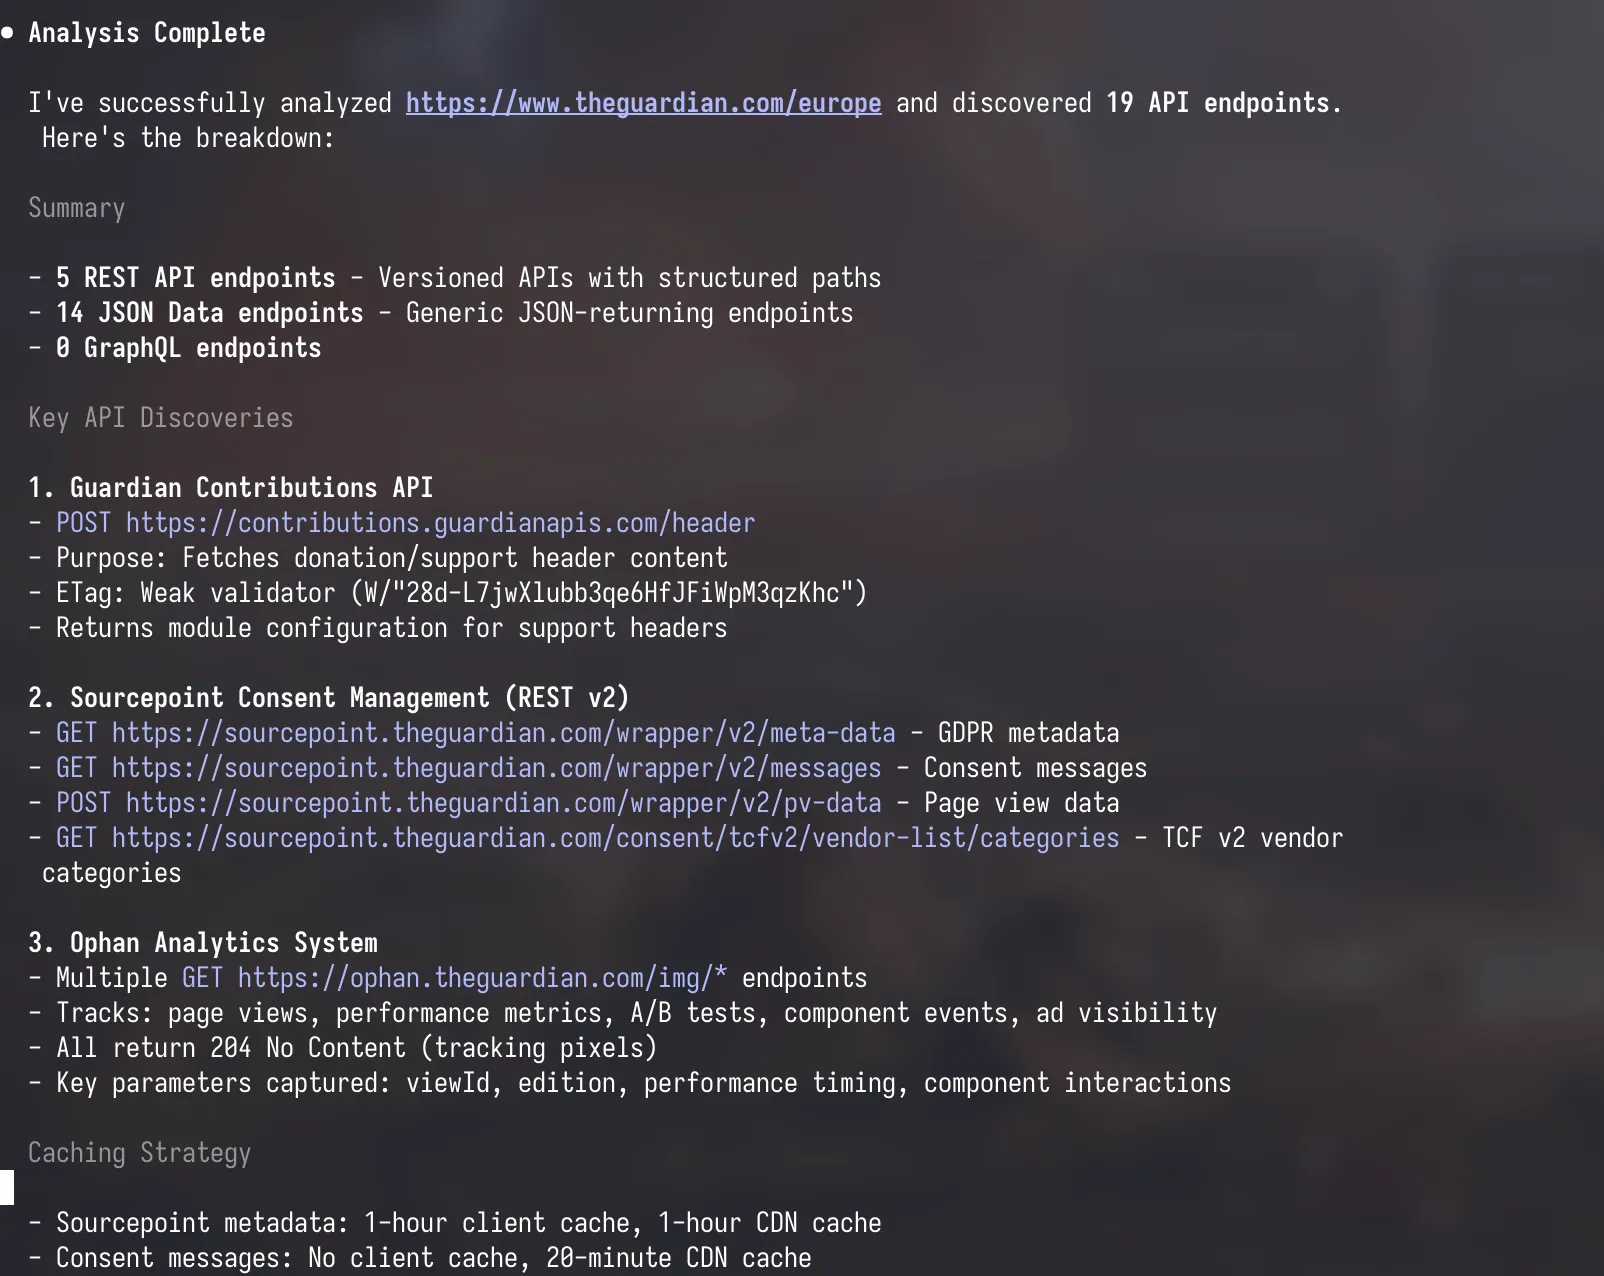
Now just kick off a prompt to Claude and if it makes sense it should use your tool, making it even more powerful. In the same way like myself in the example below:

Conclusion
Building this is very simple and straightforward if it’s not some very complex tool that you want to provide. But it opens up a lot of possibilities for how to extend the LLM, which is great. I hope you learned something new — don’t forget about the context so that you don’t overload your LLM with unnecessary info and too much clutter. Next time I will maybe show you how I built the same thing but as an AI agent since I got my hands on an API key 🔑.